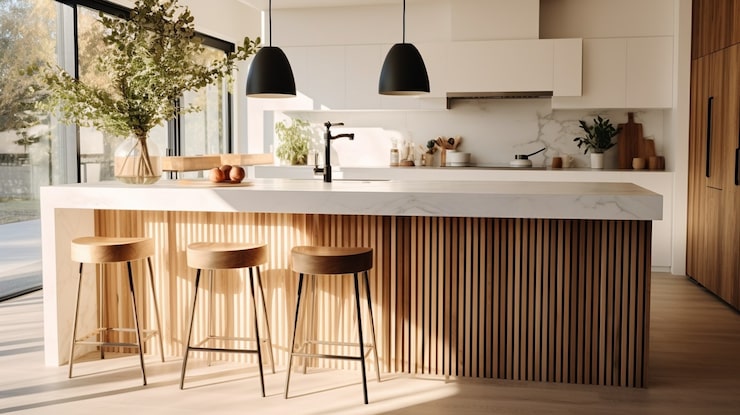
A kitchen island is one of the most requested features in kitchen renovations, and also one of the most commonly miscalculated — either too small to provide genuine functional value, or too large for the surrounding clearance, creating a cramped, awkward kitchen despite the island itself looking impressive in isolation.
Clearance Requirements Aren’t Optional Design Flexibility
A functional kitchen needs a minimum of roughly 42 inches of clearance around an island for basic walking circulation, and considerably more — closer to 48 inches or beyond — in any zone where someone might be working at the island while another person needs to pass behind them, such as near the dishwasher or main cooking zone. Many disappointing island installations result from prioritizing island size over this clearance requirement, producing a kitchen that looks impressive in a rendering but feels genuinely cramped in daily use.
Seating Overhang Needs Real Knee Clearance
If your island includes seating, the counter needs a minimum overhang of about 12 inches for comfortable knee clearance, and standard stool height needs to correspond correctly to your specific counter height (a standard 36-inch counter needs roughly 24-26 inch stools, while a raised 42-inch bar-height counter section needs 28-30 inch stools). Mismatching these measurements is a common, easily avoidable source of an uncomfortable seating experience that undermines an otherwise well-designed island.
Decide the Island’s Primary Function Before Finalizing Its Design
An island built primarily for additional prep space needs different features (more open counter space, possibly a secondary sink) than one built primarily as a casual dining and gathering spot (which prioritizes comfortable seating and possibly a different counter height for that seating area). Trying to fully optimize an island for too many competing functions simultaneously often results in a design that does several things adequately rather than one or two things genuinely well.
Electrical and Plumbing Integration Should Be Planned Early
If your island will include a cooktop, secondary sink, or simply enough outlets for small appliances and charging devices, this needs planning at the earliest stages of kitchen design, since retrofitting electrical or plumbing to an island after the fact is considerably more disruptive and expensive than incorporating it into the initial layout and rough-in plumbing and electrical work.
Storage Within the Island Should Be Zone-Planned, Not Just Maximized
Rather than simply maximizing total storage volume within an island, plan what specifically will be stored there based on what’s actually used at the island — if it’s primarily a prep zone, storing cutting boards, knives, and prep tools there makes more sense than general overflow storage that has no functional relationship to the island’s actual daily use.
Proportions Relative to the Whole Kitchen Matter
An island that looks appropriately scaled in isolation can still overwhelm a kitchen if it’s disproportionate to the room’s overall size. As a general guideline, an island typically shouldn’t consume more than about a third of the kitchen’s total floor area, leaving adequate space for the rest of the kitchen’s function and circulation.
Waterfall Edges and Material Choices Affect Both Look and Cost Significantly
A waterfall edge, where the countertop material continues down the sides of the island, creates a striking visual statement but uses considerably more material (and therefore costs meaningfully more) than a standard counter edge — worth factoring into budget planning specifically if this look is a priority.
The Planning Sequence That Works
Determine the island’s primary function first, confirm adequate clearance around it fits your kitchen’s actual dimensions, then work backward into size, seating, and storage specifics — rather than starting with an aspirational size and trying to retrofit function and clearance around it afterward.